This is the final step to get the app live using Github Pages!
Thanks for sticking with me until the end of this series :) . Read about how to set up Middleman, either locally or inside a Docker container, in the previous blog posts:
- Add Webpack to your Middleman app
- Dockerize your Middleman app!
Setting up GitHub Actions is really easy and it just requires you to create a path named ./github/workflows in your repository root directory, inside which all workflow configuration files will be.
I’ll show you how we achieved making continuous deployments of a dockerized Middleman app to GitHub Pages in just a few steps, but know that you can also configure it to make deployments to AWS or any other server you’d prefer. You can find all sorts of predefined actions in GitHub’s marketplace.
In this case, because we are using GitHub Pages, make sure to push your repository to GitHub, make it public, and create a ‘gh-pages’ branch.
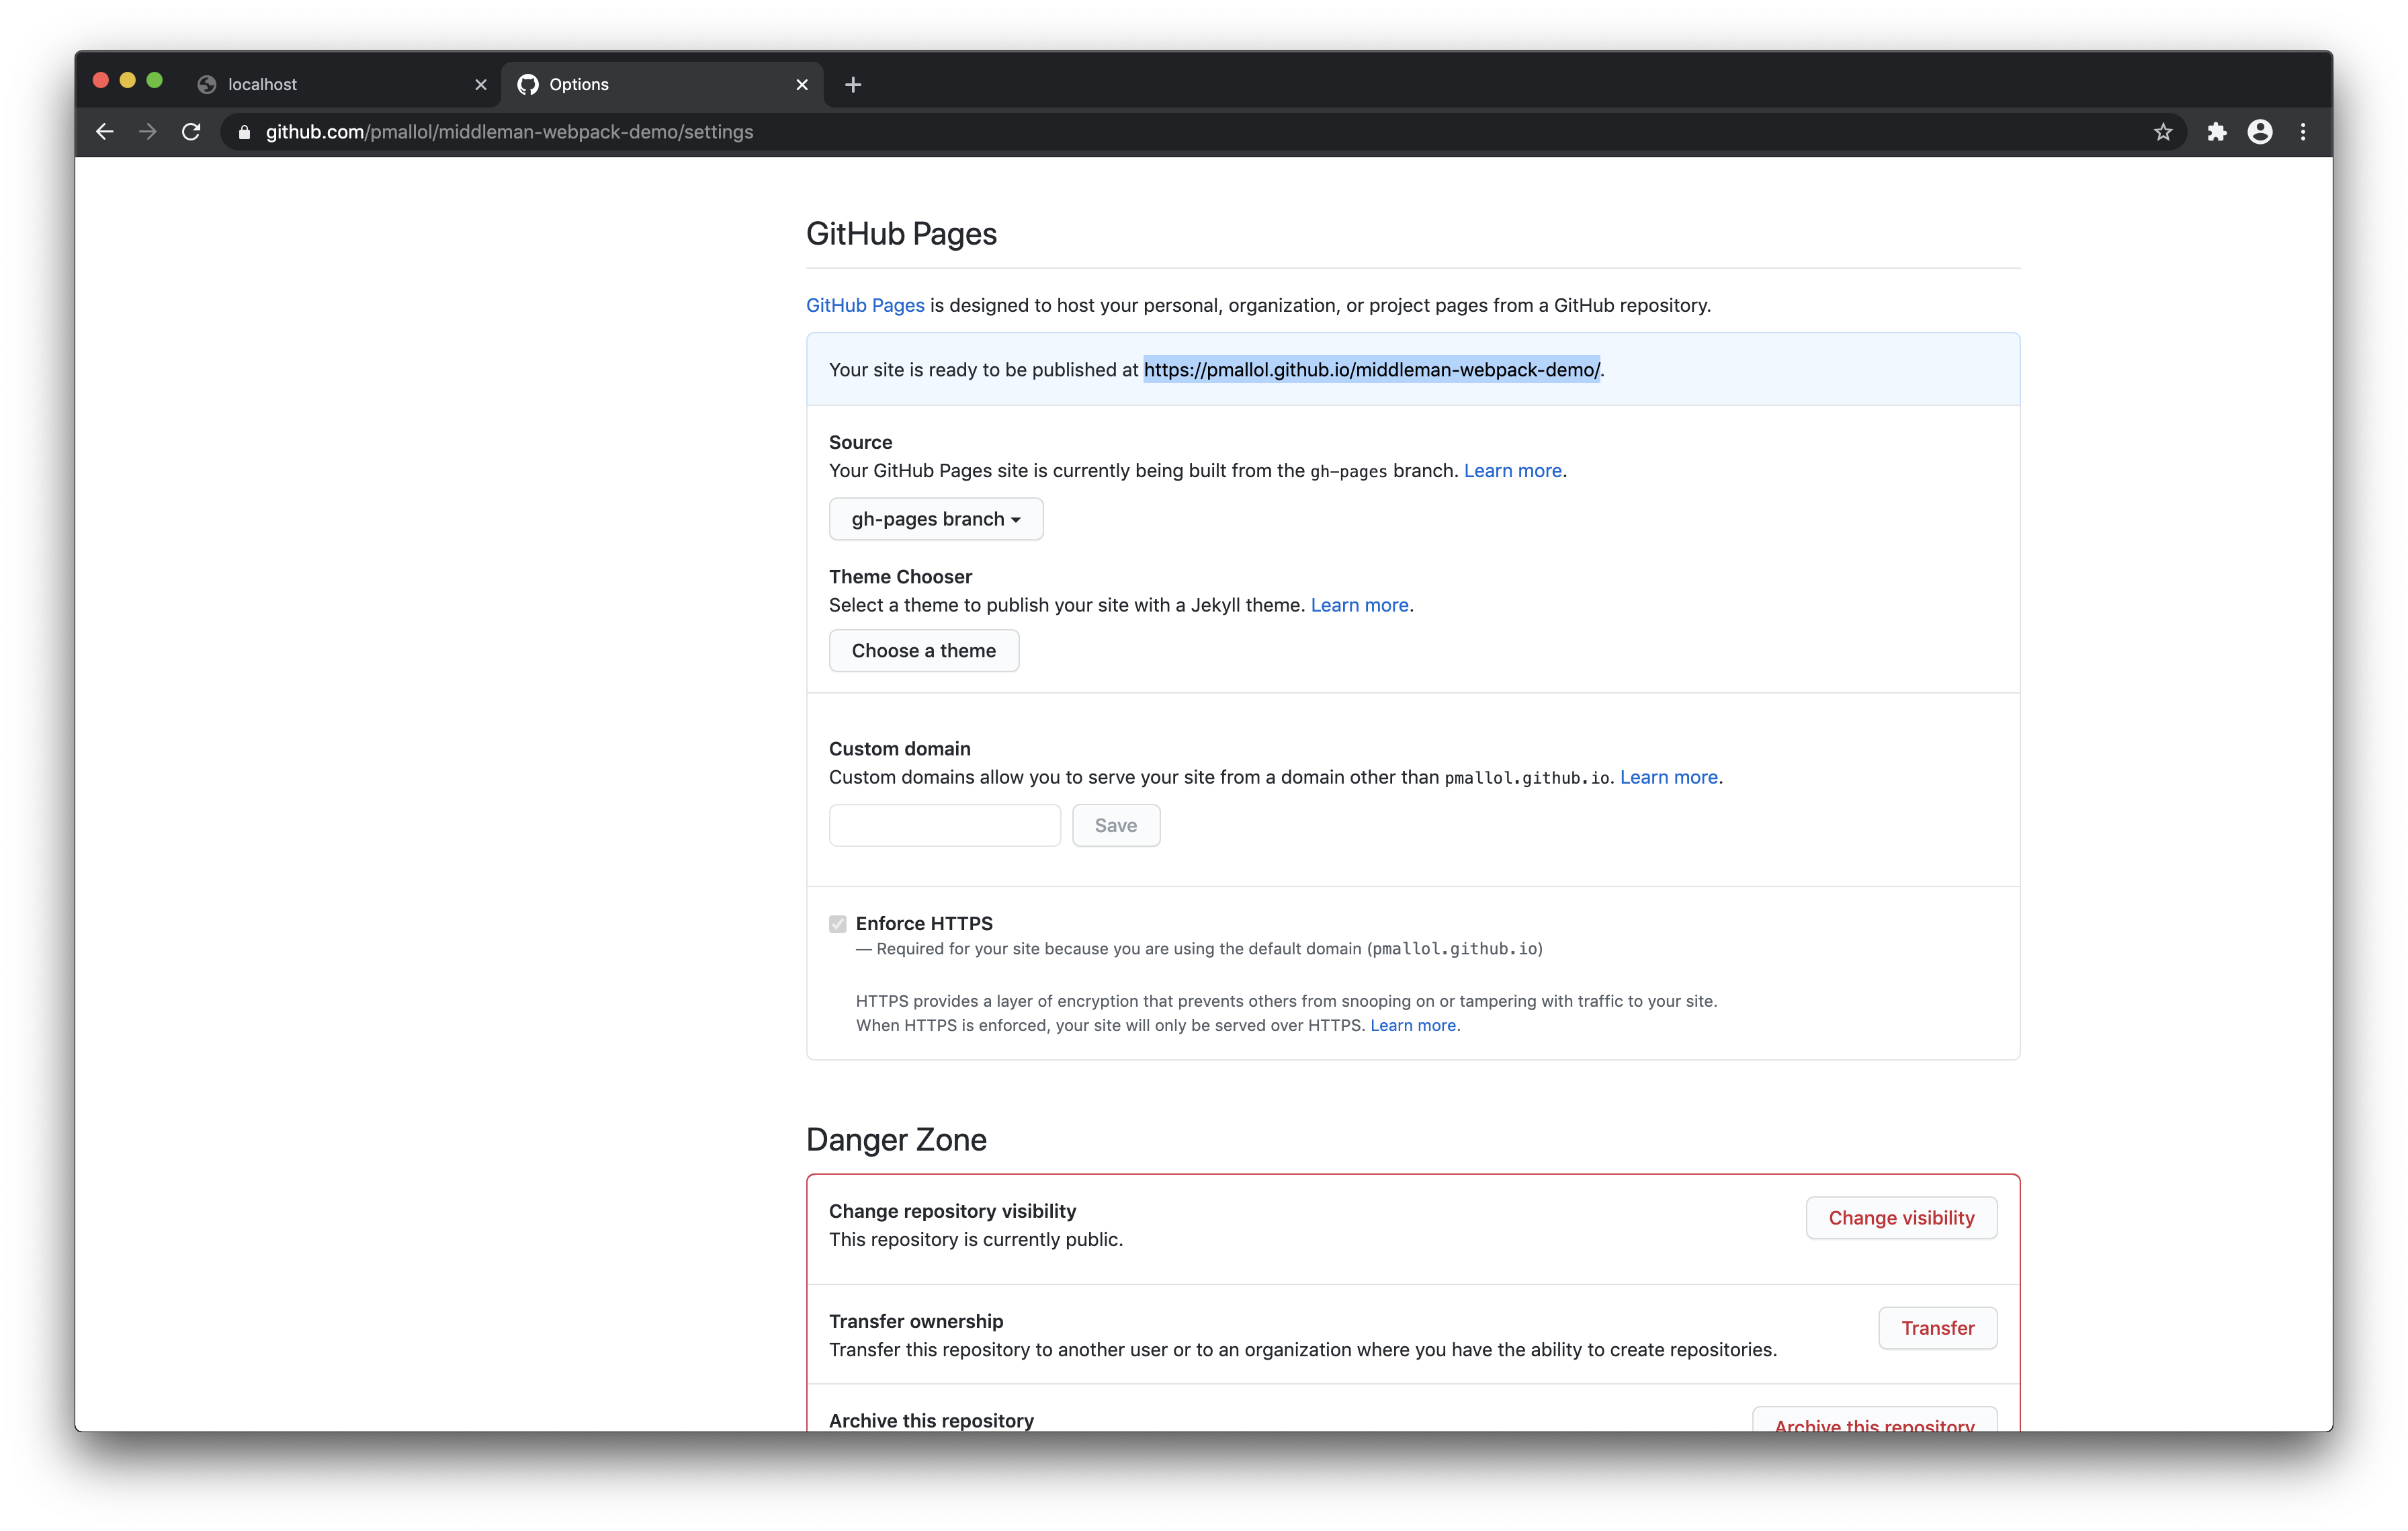
Open your repository’s settings and you should see GitHub Pages was automatically enabled after the new gh-pages branch was created and pushed:

Awesome! Thanks GitHub ;)
Now create a deploy.yaml file inside the .github/workflows directory with the following content:
Commit this change inside the ‘master’ branch and push it to your repository. This will generate the GITHUB_TOKEN needed by the GitHub Pages action.

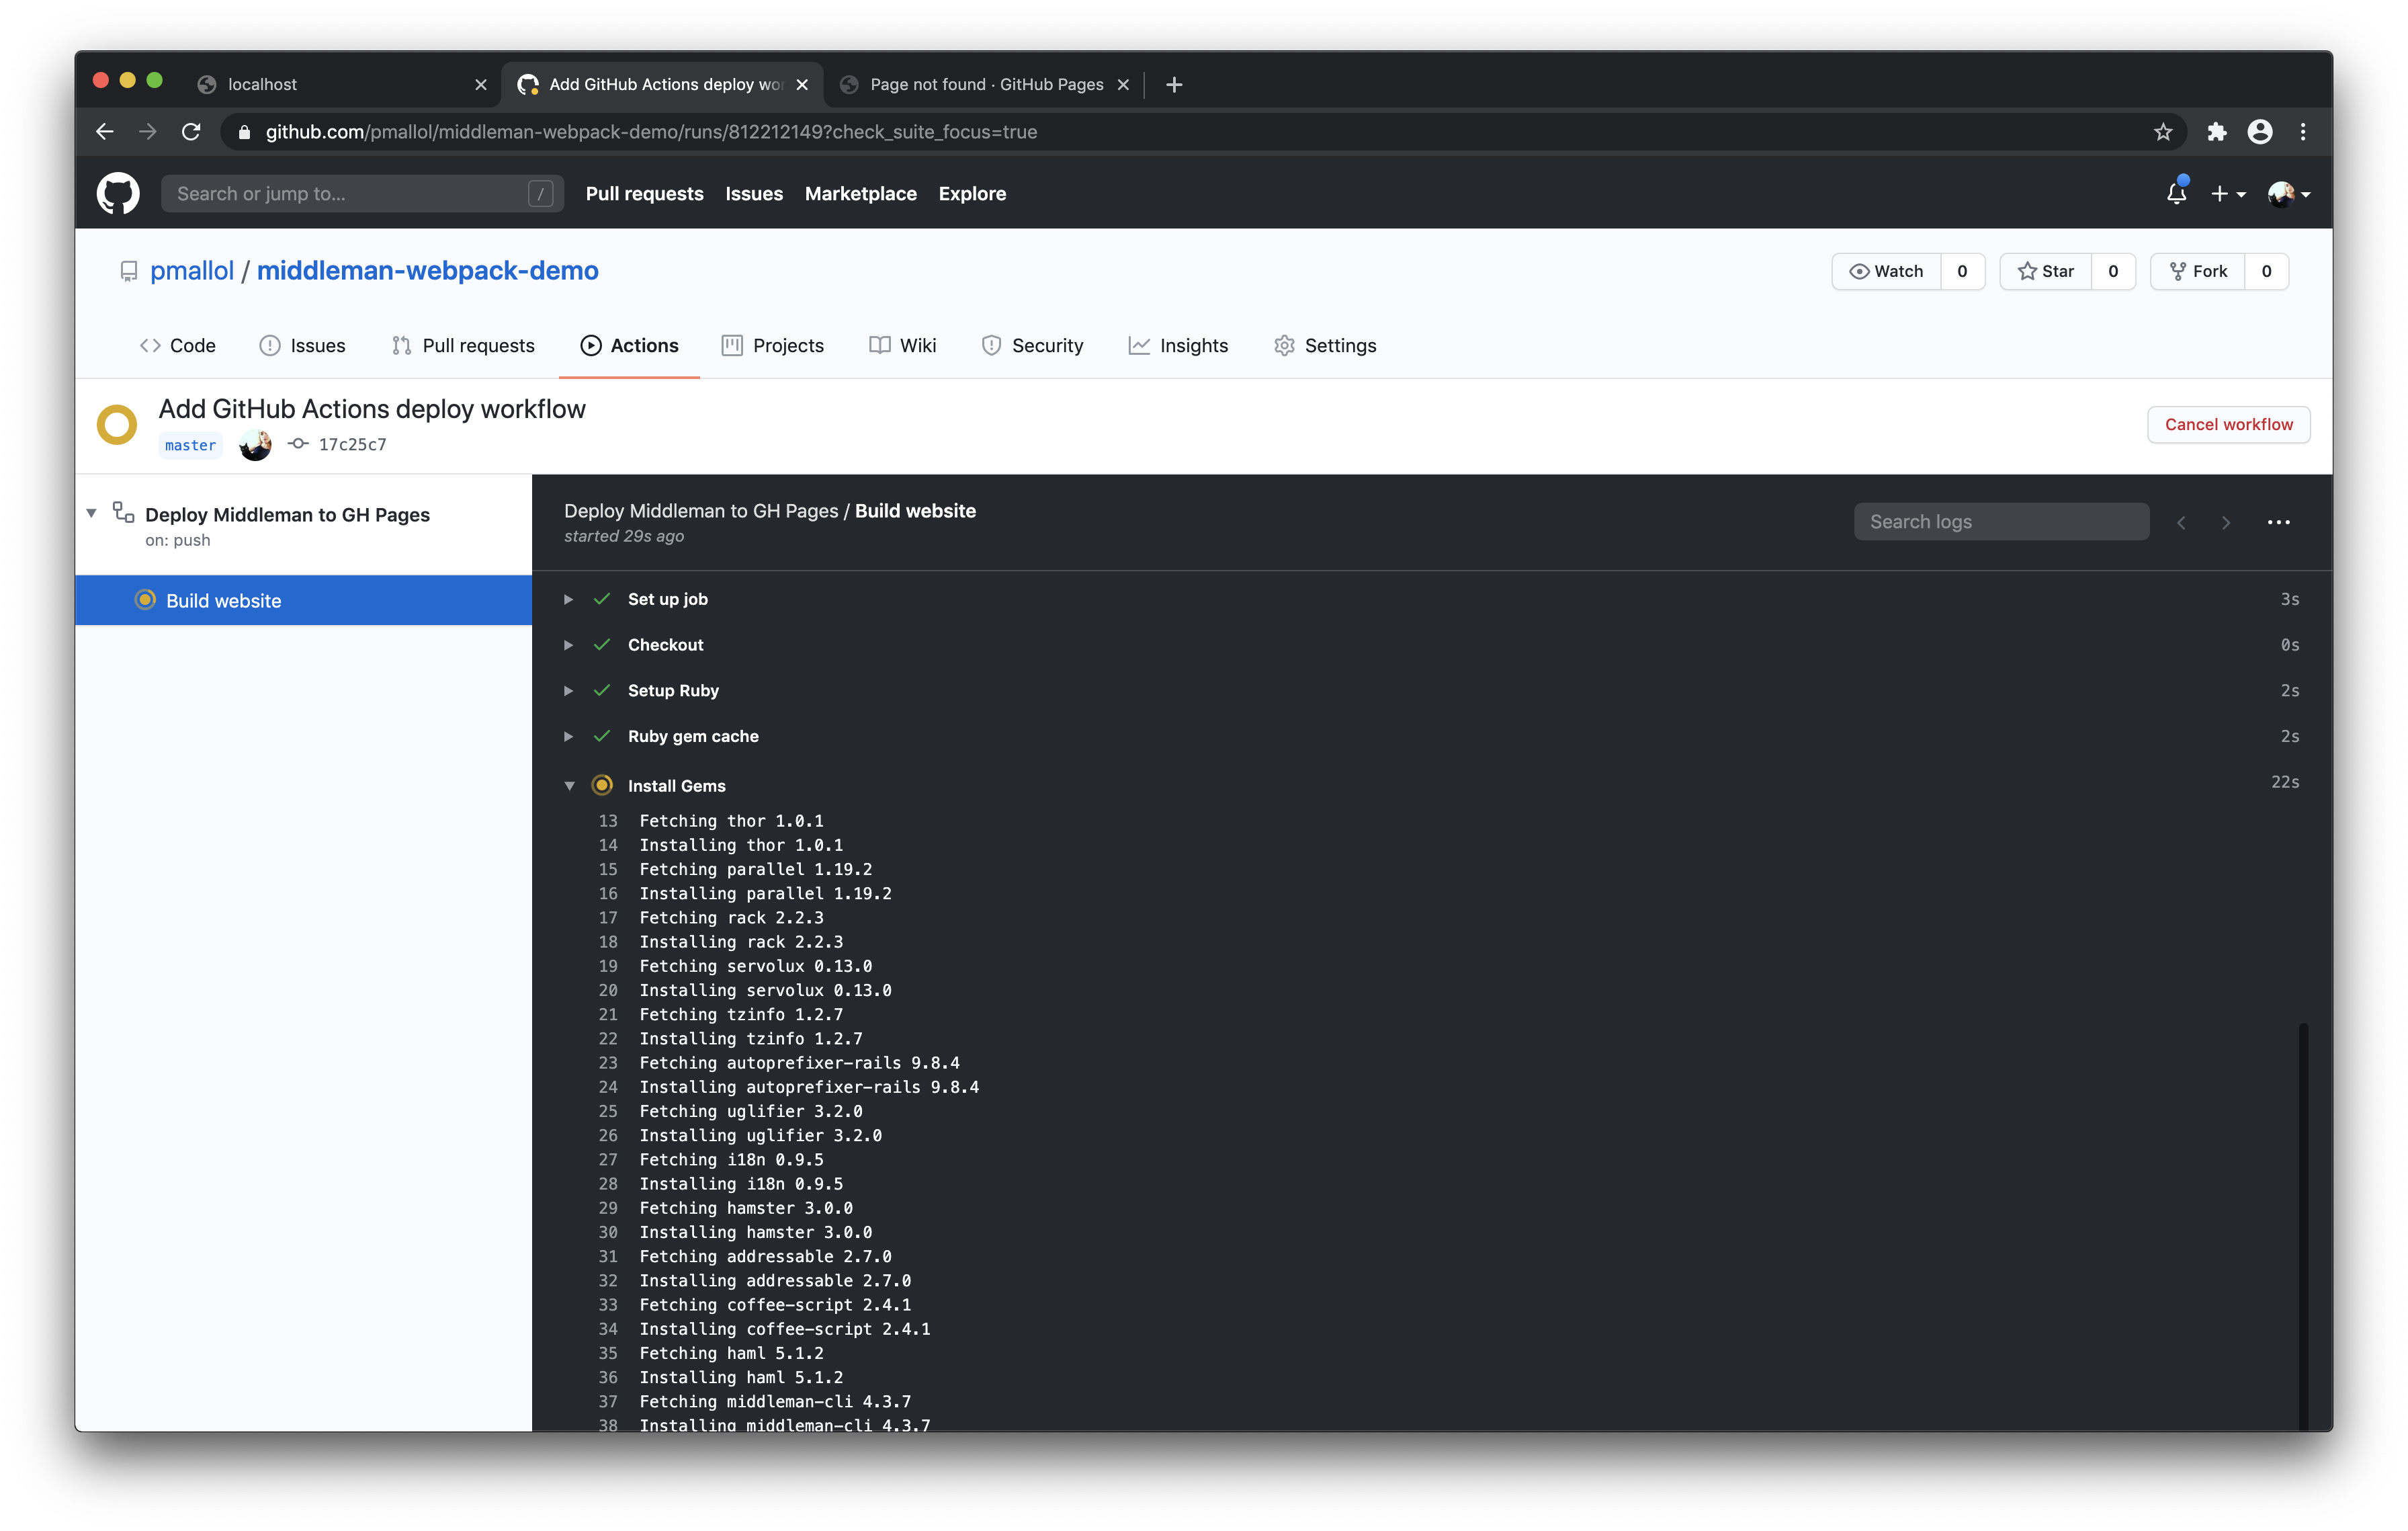
This first workflow run will probably fail, that’s ok! You can monitor workflows navigating to the ‘Actions’ tab of your GitHub repository.
Now it’s the perfect time to modify Middleman’s build configuration. When Middleman is built with the command $ bundle exec middleman build, a new build folder is created. The asset files previously located inside the .tmp/dist folder will be bundled and moved inside the ./build folder in the process.
Also, because of the way relative links are generated in GitHub Pages, we will need to set a http_prefix with the name of the repository so that it is added as a prefix to all links in the application.
Let’s edit the config.rb file and add a build environment configuration to ensure relative links and paths for .css and .js files are set properly:
Commit and then push the changes to master. This time, the GitHub Actions workflow shouldn’t take as long as the first one because we’ve configured the gems and packages to be cached.
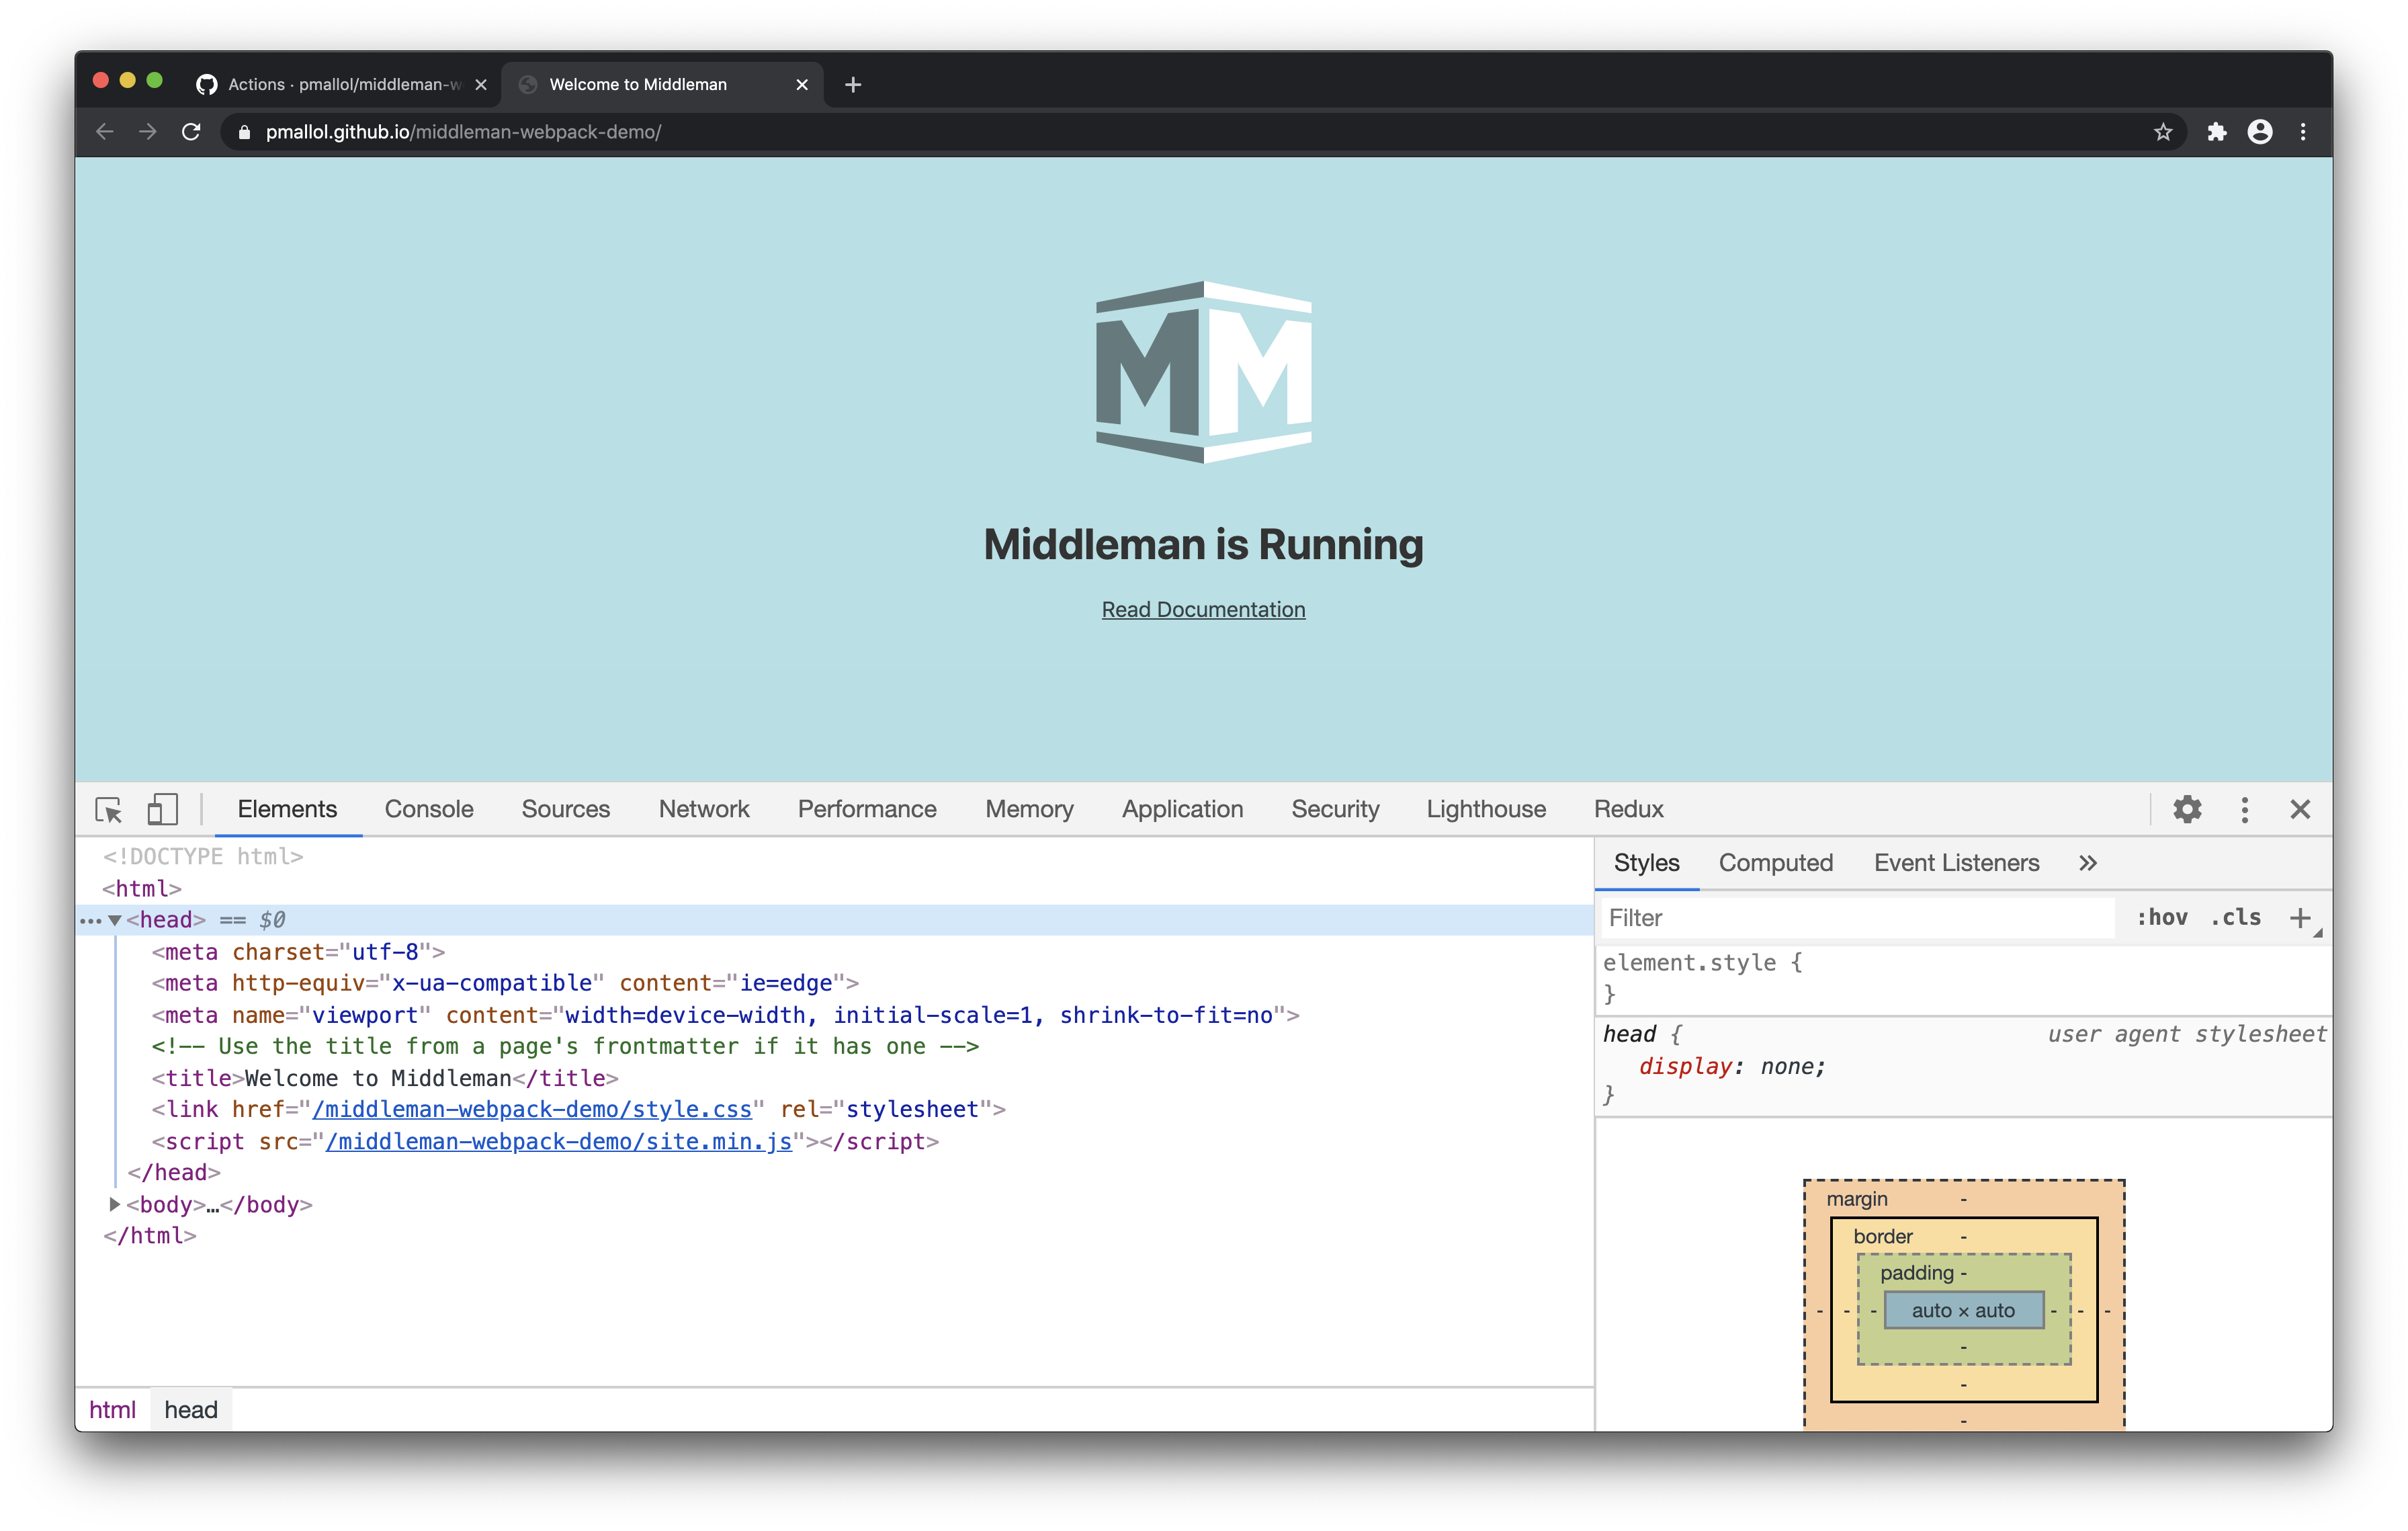
If your workflow ran successfully, open up your GitHub Page and see what it looks like. It will most likely be located at “https://your-gh-username.github.io/your-gh-repo”.
Check out the demo: https://pmallol.github.io/middleman-webpack-demo/. If you inspect the site, you should see assets are properly linked, like so:
<head>
   ...
   <link href="/middleman-webpack-demo/style.css" rel="stylesheet">
   <script src="/middleman-webpack-demo/site.min.js"></script>
</head>

Final touches
Alright, so we now have a really nice app with continuous deployment.
What’s missing I believe, is adding a bit of content. As a final step, we’re going to add an About page and link it from the Home page.
When using Middleman, all new content should be located inside the /source folder. You can read more about how Middleman manages its directory structure in their docs. So, create an /about folder inside ./source and inside this /about folder, create a file named index.html.erb. This will be our new About page.
Add some kind of content and a link to the Home page:
And next, as the last step, let’s make this About page accessible from the Home page. Open up the Home page file also named index.html.erb located inside the ./source directory, and add a link to the About page at the very bottom:
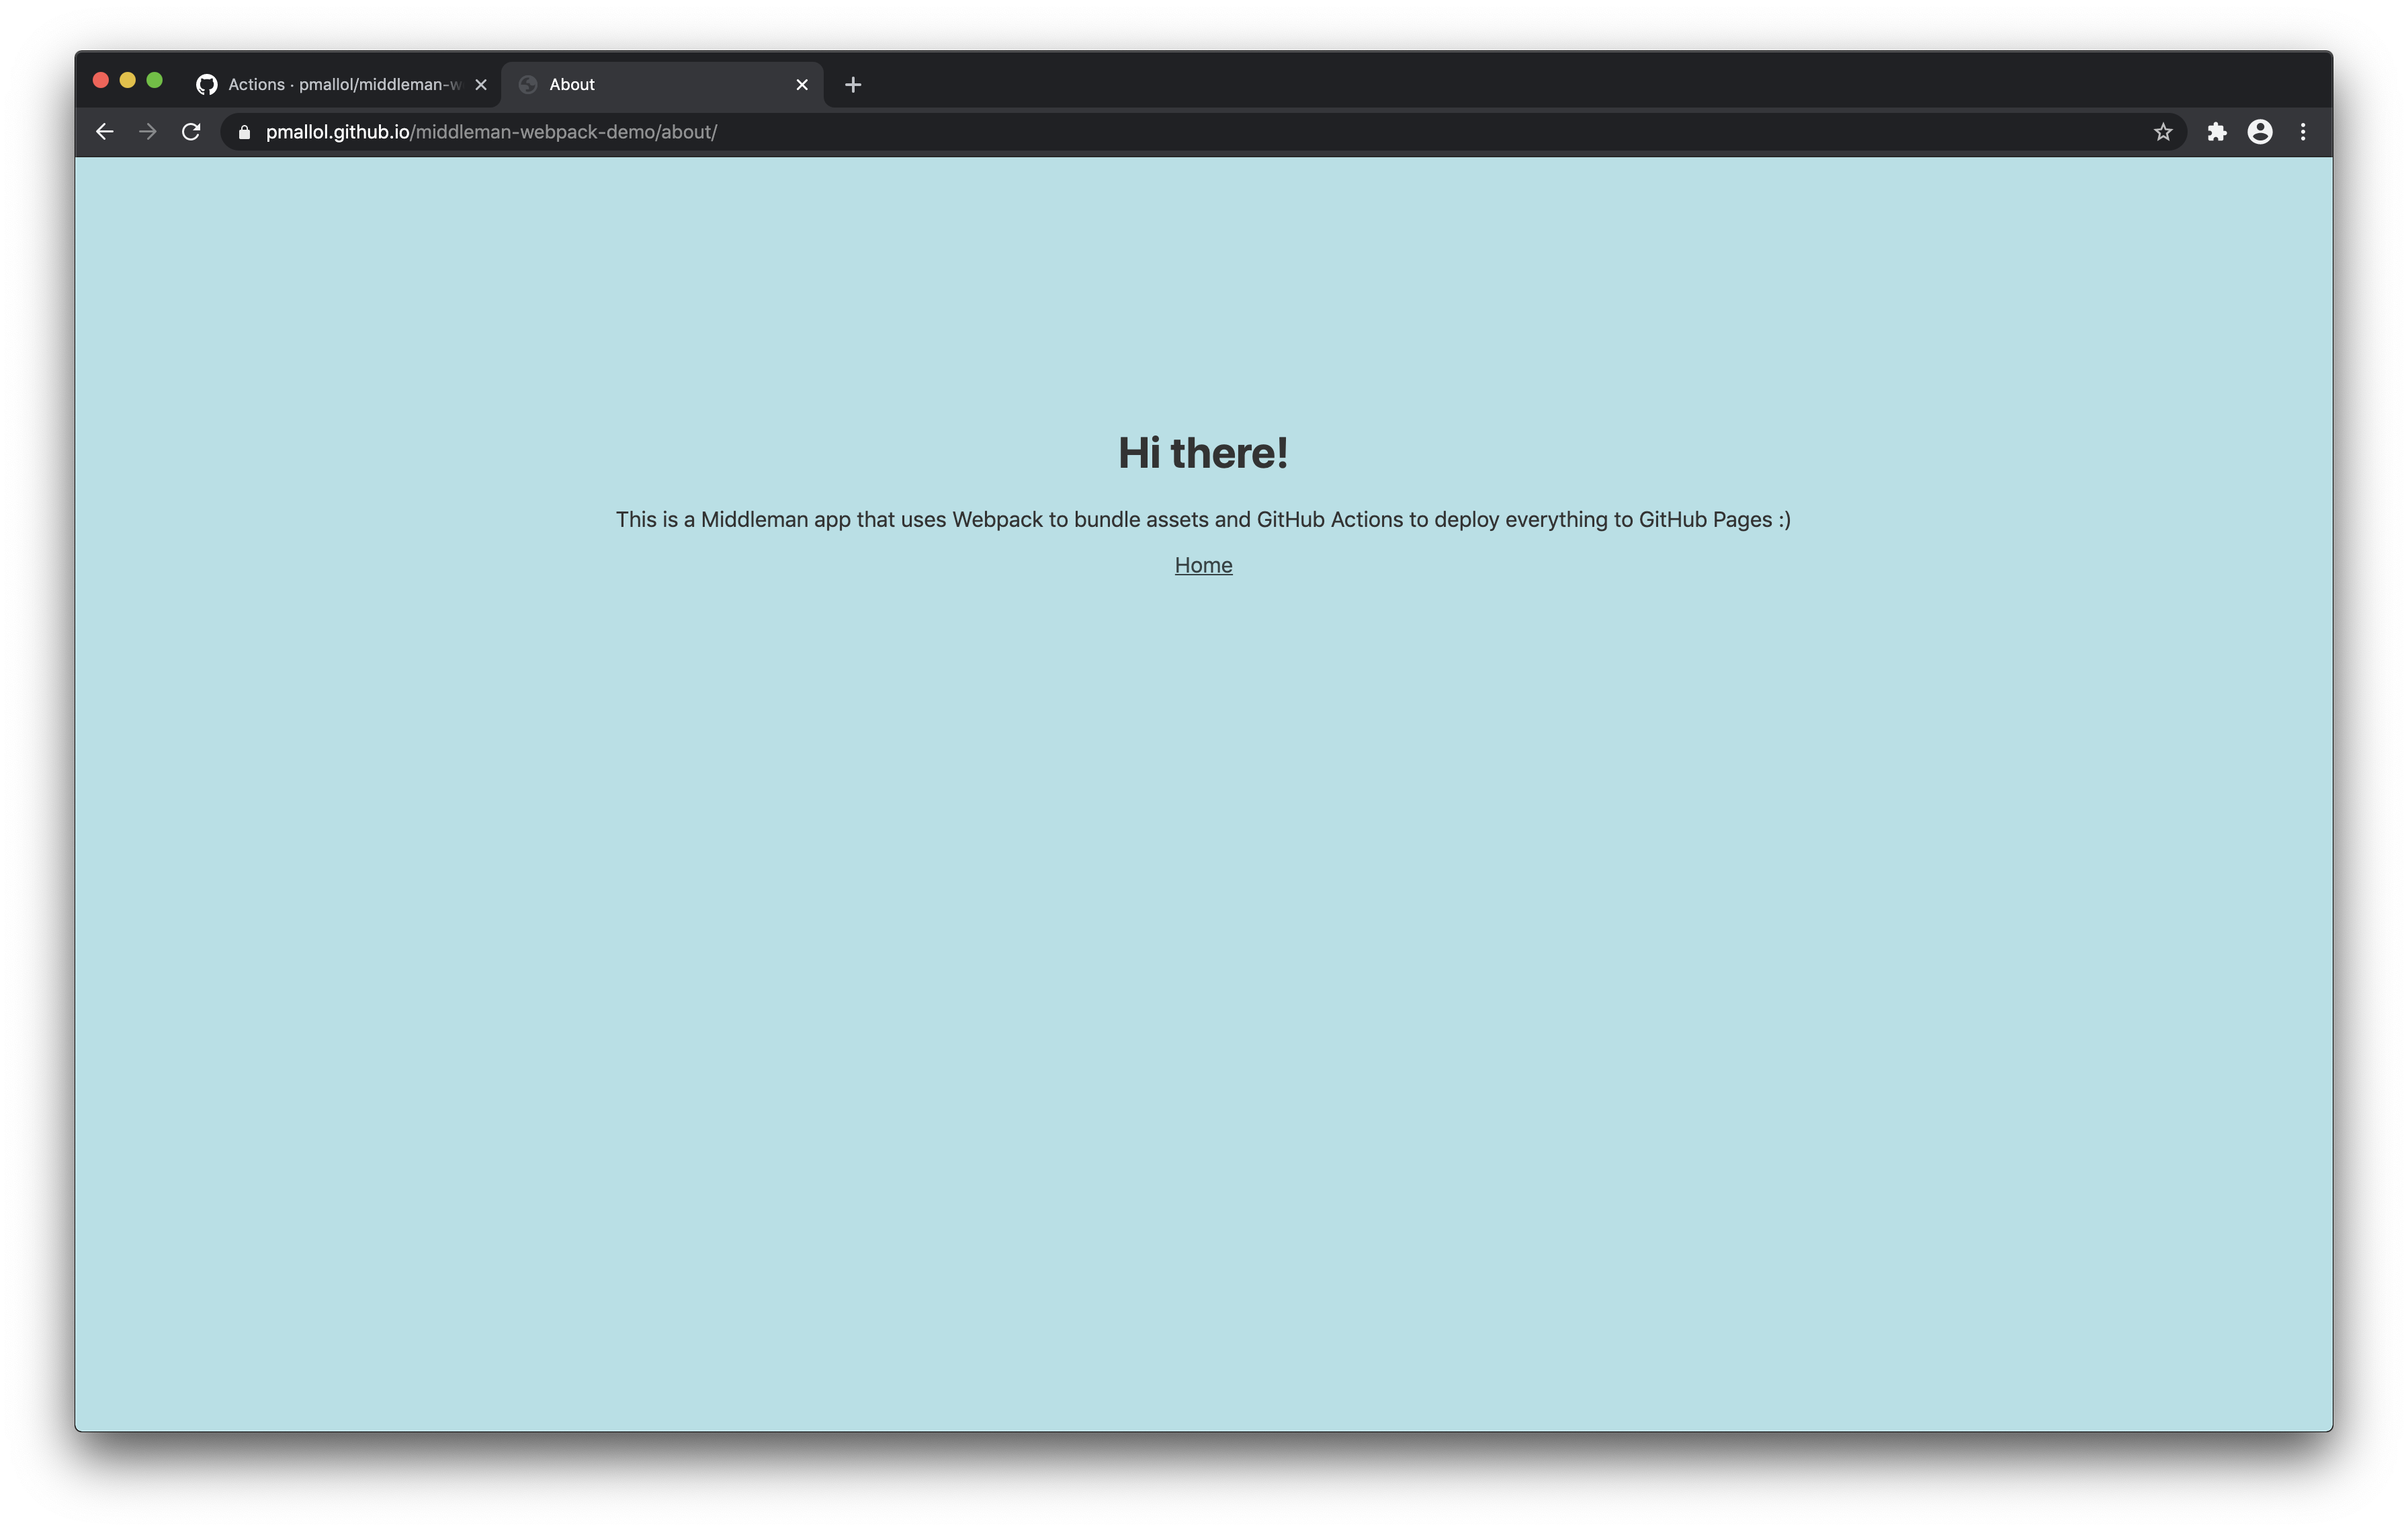
And, that’s it! We should see the new About page working properly either locally and on the GitHub Page!

Hope these series were useful and please, don’t hesitate to drop me a line if you have any questions.
Special thanks
Huge thanks to @fnbellomo who helped me figure out a lot of things throughout the process of making this demo!
